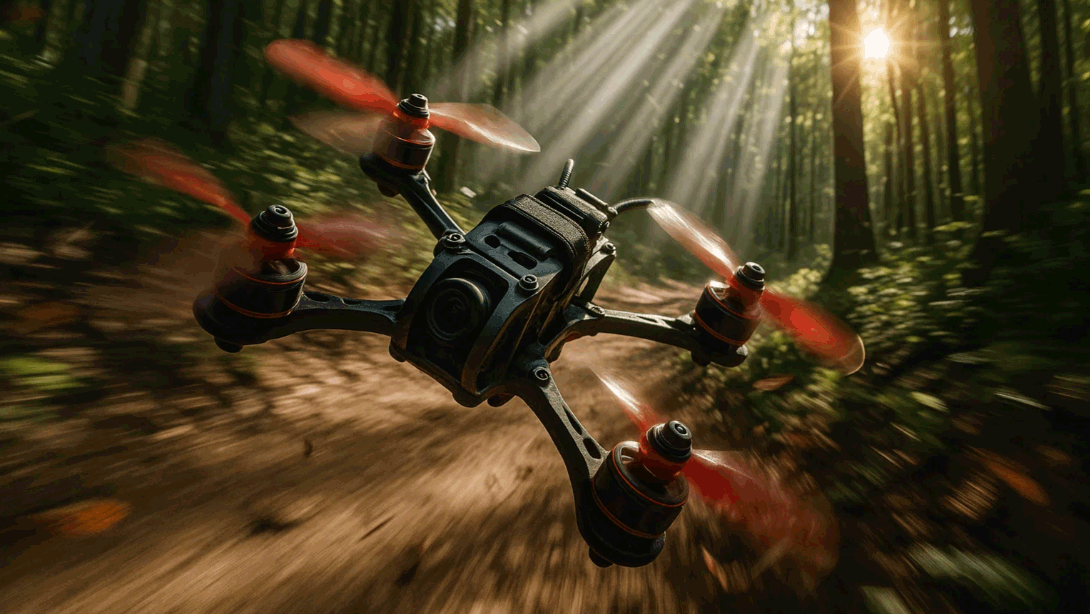
Lead: FPV payloads live or die by grams, watts, and milliseconds. This guide shows OEM/ODM integrators how to mount and power a Thermal Imaging Module on FPV rigs without breaking flight time or video sync—and how to make it compliant, testable, and ready for scale.
Table of Contents
ToggleExecutive Summary
- Design for the platform, not the bench. Balance lens/FOV, NETD, frame rate, and weight to match the airframe’s thrust-to-weight and mission profile. NETD indicates thermal sensitivity—the lower, the better; it’s the smallest temperature delta the camera can resolve (e.g., 30–50 mK is common for modern uncooled LWIR).
- Power is a system budget. Account for peak current and conversion losses from flight packs (4S–6S) to module rails; protect the FPV video link from buck/boost noise.
- Latency is UX. Keep overlay pipelines simple and time-aligned; digital FPV systems add tens of milliseconds—budget end-to-end latency accordingly.
- Compliance is channel velocity. Thermal modules may be dual-use; export controls and CE/FCC/RoHS planning prevent last-minute blocks. For the EU see Regulation (EU) 2021/821; in the US, many >9 Hz thermal cameras fall under ECCN 6A003.
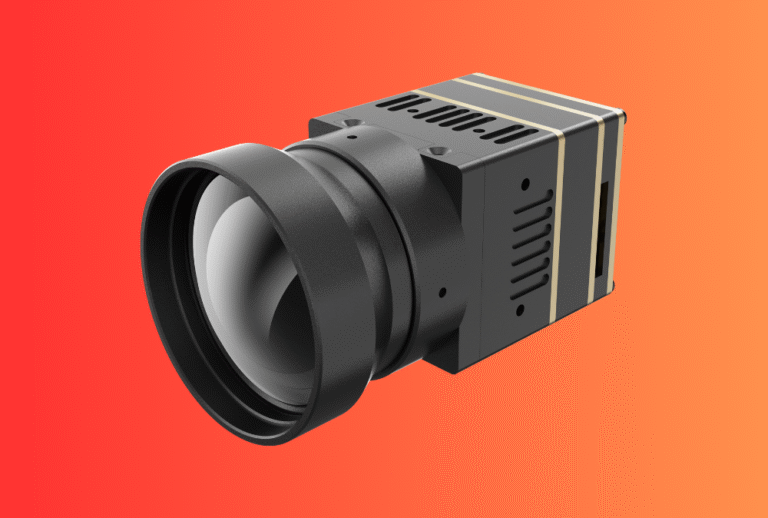
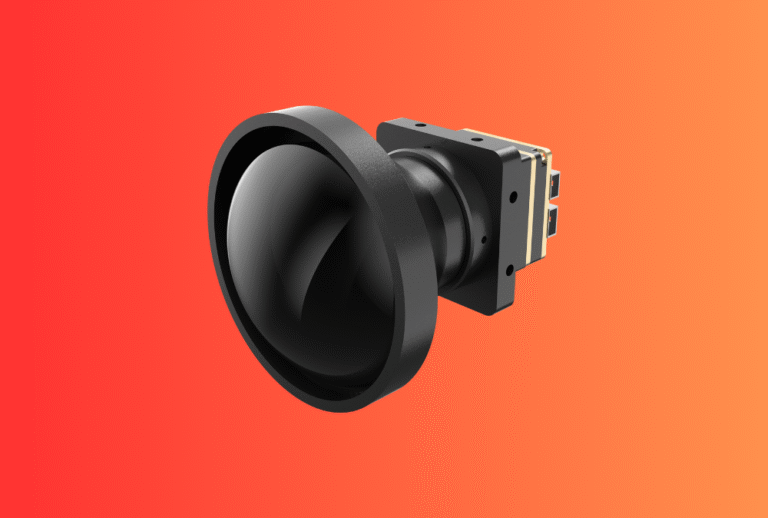
Explore our Thermal camera module options. For distance overlays or landing-site checks, see Laser Rangefinder Module.
Use Cases & Buyer Scenarios
Field inspection and utilities
Small quads (5–7″) doing line/path checks need wide FOV and modest frame rate to spot hotspots while staying light enough for 12–18 min flights. Pair thermal with basic range overlay to judge clearances during close approaches.
Public safety night FPV
SAR teams want mid-tele lenses to search rooftops and tree lines; NETD and stability matter more than sheer resolution. A simple HUD with confidence bars and temperature cursors speeds triage.
Cinematic/freestyle tech demo
Lightweight stacks prioritize latency and clean OSD. A compact thermal insert plus on-goggle overlay sells the concept without over-engineering ground stations.
Spec & Selection Guide
What to pick—and what each parameter means
-
Resolution & optic pairing: 256×192/384×288 are common on small payloads; match focal length to FOV and typical standoff distance.
-
NETD (mK): Lower is better; it’s the noise-equivalent temperature difference—the minimum temperature change visible over noise. Typical uncooled values: ~<50 mK for quality modules.
-
Frame rate: 25–50 fps feels smooth in FPV overlays; be mindful that >9 Hz exports can be controlled in some jurisdictions.
-
Power: List steady-state W and peak current; check cold-start draw and inrush.
-
Interfaces: MIPI/USB/UART/CAN/ethernet; ensure timestamp fields for fusion and OSD sync.
-
Mass & mounting: Vibration isolation and datum repeatability (boresight) trump raw grams if you need consistent overlays.
Quick comparison—three FPV payload archetypes
| Archetype | Optic & FOV | Resolution | NETD target | Frame rate | Typical mass budget | Power budget | Notes |
|---|---|---|---|---|---|---|---|
| Wide-area scan | Short focal, wide FOV | 256×192 / 384×288 | ≤50 mK | 25–30 fps | ≤60–90 g | 1.5–3 W | Fast coverage; tolerant to motion blur. |
| Target inspection | Medium focal, mid FOV | 384×288 / 640×512 | ≤40 mK | 30–50 fps | ≤80–120 g | 2–4 W | For rooftops/lines; needs steadier power. |
| Demo/lightweight | Short focal | 256×192 | ≤60 mK | 25 fps | ≤50–70 g | 1–2 W | Lowest latency UI, simplest wiring. |
Decision flow
If flight time < 12 min → prioritize mass + power; pick 256×192, ≤2 W, wide FOV.
If standoff > 40 m → medium focal + ≤40–50 mK NETD to retain detail.
If overlay feels laggy → reduce processing; align timestamps; keep HUD minimal.
If selling into US/EU → confirm export class (e.g., >9 Hz often in 6A003) and pre-plan CE/FCC docs.
Integration & Engineering Notes
Electrical & Interfaces
-
Power rail design: Step down from 4S/6S with low-noise buck; include LC filters, soft-start, and inrush control. Keep module and video-TX on separate rails where possible to minimize EMI into the FPV link.
-
Peak current & brownouts: Size the DC-DC for 2× steady-state as a rule of thumb; check cold-start and AGC peaks. Add local bulk capacitance near the module.
-
Timestamp discipline: Provide event timestamps and, if you later add ranging, make them share a clock domain (ROS 2
/clockor companion computer). Digital FPV links add tens of milliseconds—budget that in the HUD. -
SDK/OSD bridge: Expose
temperature_px,palette, andt_event_nsto the overlay process; keep conversions simple to avoid latency tax.
Optics & Mechanics
-
Boresight & datums: Use V-groove or dowel pins so the thermal boresight repeats after transport or crash service.
-
Isolation: Elastomer standoffs tame high-frequency vibes; don’t over-soften or you’ll introduce drift.
-
Window & coatings: If enclosed, specify AR and anti-fog coatings; torque consistency prevents tilt that skews FOV.
Firmware/ISP/Tuning
-
AGC & palettes: Offer fixed/auto modes; document default LUTs so customers can standardize color language across fleets.
-
Hot-spot cues: Add simple temperature cursors or threshold boxes rather than full thermal analytics on a tiny CPU.
-
Failsafes: Thermal modules don’t trigger laser safety, but power/thermal derates keep OSD stable and protect batteries.
Testing & Validation
-
Bench → field: Validate motion blur and overlay latency on a spin stand before flight.
-
Acceptance (pilot): Record NETD check, frame rate, power draw, and overlay lag; attach a short video clip to each serial.
-
SAT basics: A 3-point pass/fail—indoor hot/cold targets, outdoor dusk scene, and a simple hover-pan test—catches 80% of issues.
Compliance, Export & Certifications
-
Dual-use/export: Thermal cameras can fall under dual-use controls. In the EU, exports are governed by Regulation (EU) 2021/821; in the US, thermal cameras >9 Hz often classify under ECCN 6A003, while ≤9 Hz models can fall into other categories (e.g., 6A993/NLR depending on destination). Always confirm current ECCN and destination rules.
-
EMC/materials: Plan CE/FCC/UKCA for emissions/immunity and RoHS/REACH for materials as part of the documentation pack.
-
Labeling & manuals: Even for non-laser payloads, consistent warnings, temperature limits, and disposal notes speed channel onboarding.
Business Model, MOQ & Lead Time (OEM/ODM)
-
Samples & MP: Typical sample lead 2–4 weeks (standard lenses), 4–6 weeks (custom FOV/housings); MP 6–10 weeks ARO after design freeze.
-
MOQ: 50–200 pcs (standard); 300+ when custom enclosures/windows are required.
-
Kitting: Offer “FPV thermal payload” kits (module, harness, buck, mounts). Tie into a future Laser Rangefinder Module option for upsell.
-
Attach strategy: For non-FPV buyers, cross-sell handhelds like Thermal Monoculars or Thermal Binoculars to expand channel mix.
Pitfalls, Benchmarks & QA
Seven common mistakes
-
Ignoring peak current. Modules reset mid-flight; spec rails for transients, not averages.
-
Letting the buck pollute video. No LC filter, poor routing → visible banding on digital FPV.
-
Overspec resolution. Heavier lenses and CPU burden hurt flight time with little real gain.
-
No timestamp plan. Overlays “swim” when the HUD uses publish time, not event time.
-
Mounts without datums. After service, boresight shifts and customers lose confidence.
-
Forgetting export class. Shipping >9 Hz units without checks delays programs.
-
Unwritten SAT. Without a three-scene acceptance, you’ll debate “quality” instead of data.
Field benchmark (copy-ready)
-
Scenes: indoor hot/cold plate; outdoor dusk panorama; rooftop search.
-
Metrics: NETD check, frame rate, overlay latency (ms), power draw (W), flight time (min).
-
Artifacts: a 10–20 s clip saved per serial number, plus a one-page pass/fail.
FAQs
1) What NETD should I target for FPV overlays?
≤50 mK is a pragmatic target for small uncooled modules; it keeps hotspots legible without heavy optics/processing. NETD is the minimum temperature change a thermal imager can resolve over noise.
2) How much latency can I afford?
Budget for the digital FPV link (tens of milliseconds) plus your overlay path. Keep the HUD minimal and use event timestamps to avoid extra lag.
3) Do thermal modules trigger laser safety rules?
No—thermal imagers do not emit laser radiation. But if you add a rangefinder later, IEC 60825-1 laser safety applies to the LRF payload.
4) Are exports of >9 Hz thermal modules restricted?
Often yes. Many jurisdictions control >9 Hz thermal cameras (e.g., US ECCN 6A003). Check the latest regulations and destinations before quoting or shipping.
5) Can I start with USB and later move to MIPI?
Yes—spec the SDK and timestamps now so your overlay logic is portable; reroute only the physical interface later.
Call-to-Action
Tell us your airframe size, lens/FOV target, and power rails. We’ll propose a thermal FPV payload kit—buck, harness, mounts, SDK overlay—plus a path to add Laser Rangefinder Module overlays when you’re ready. Start with our Thermal camera module lineup.