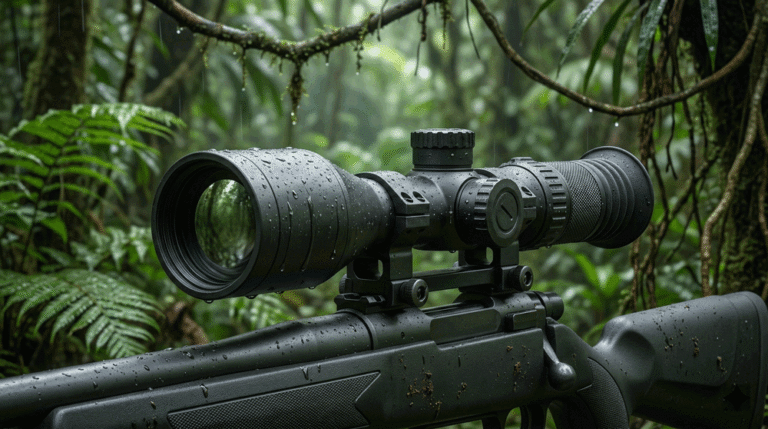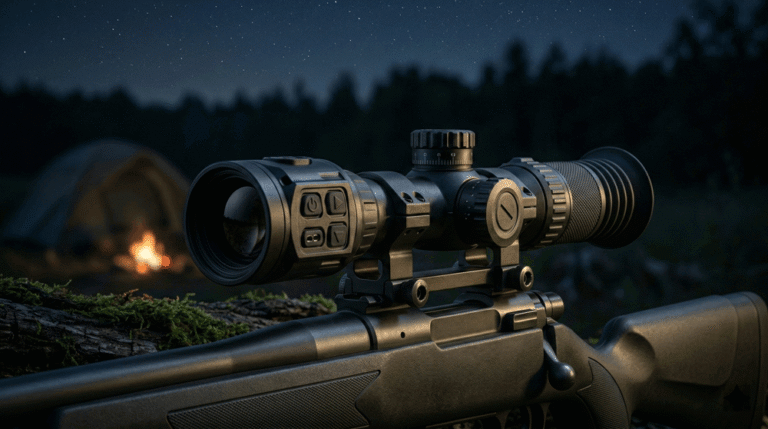
A good handheld thermal imaging scanner workflow feels boring—in the best way. It starts before the shift, runs the same at every switchboard and air handler, and ends with a one-page report that the maintenance system swallows without drama. Follow the day below to pressure-test your product roadmap (optics, UI, power, data) against what industrial technicians actually do.
Table of Contents
Toggle06:45 – Pre-shift bench checks (5–7 min)
Objective: arrive on site with a warmed-up, trusted instrument and a naming scheme the CMMS will love.
- Power & health
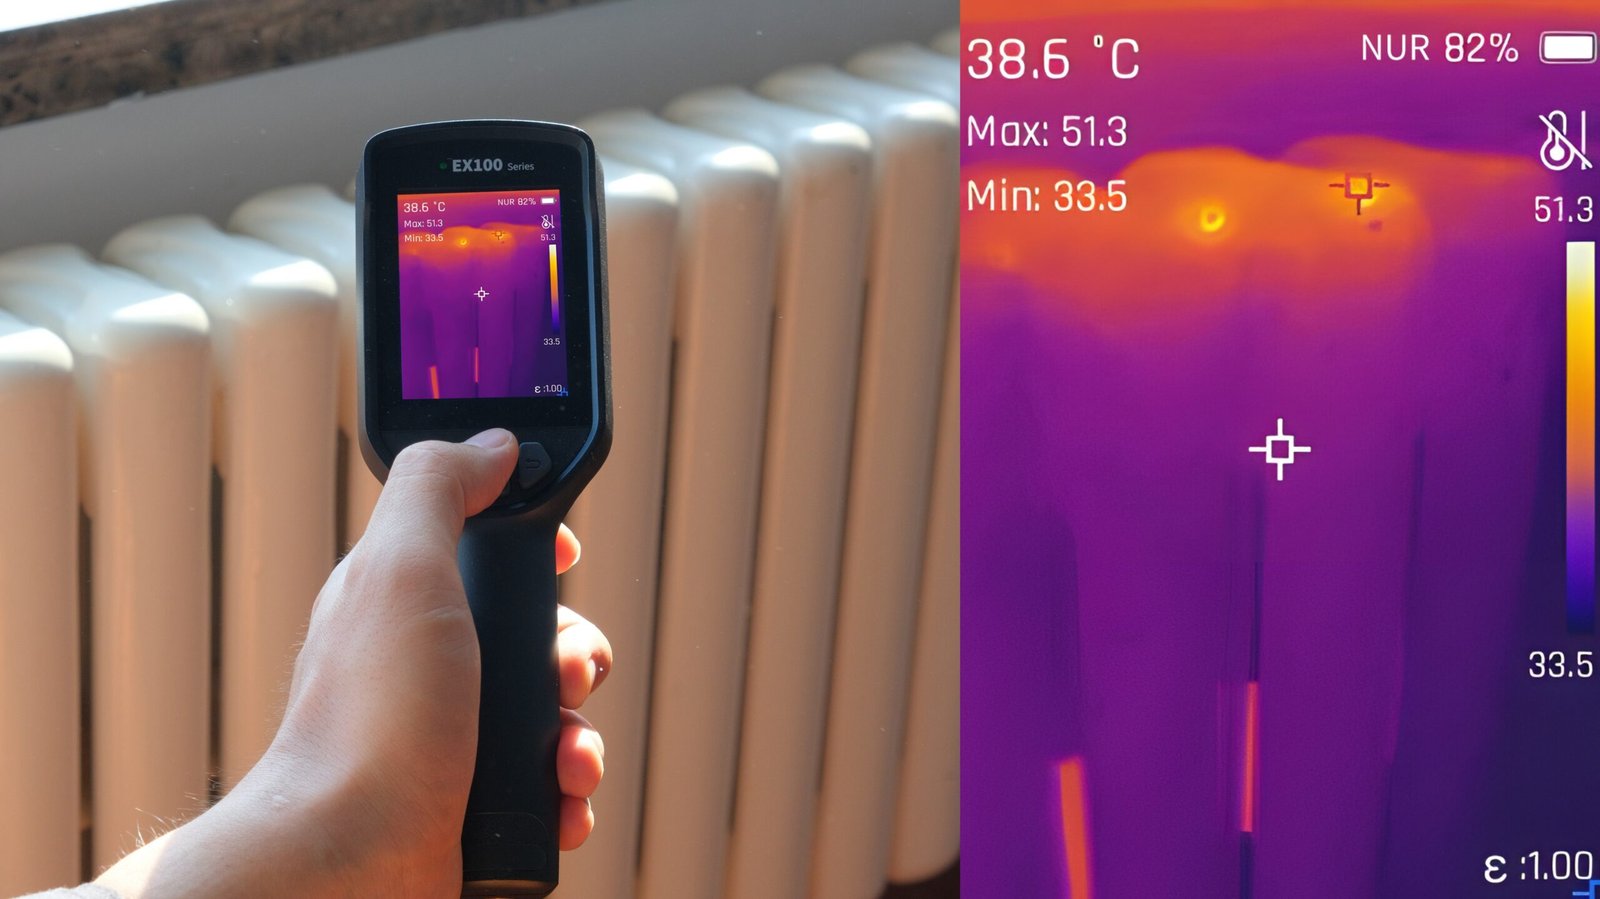
- Pop the battery; confirm charge on two packs. Publish honest runtime targets (e.g., 6 h @ 20 °C / 3–4 h @ –10 °C) in your docs—and measure them.
- Cold-start → quick NUC (non-uniformity correction).
- Verify lens cleanliness; confirm focus ring smoothness (if manual focus).
- Configuration hygiene
- Units, timestamp, operator ID, site code, job/work-order ID.
- Emissivity presets saved for painted steel (0.95), oxidized copper (0.78), bare aluminum (0.30–0.40 with tape); distance note template active.
- Palettes limited to white-hot / black-hot / ironbow to reduce debate.
- Accessories
- Wrist lanyard, short tripod/handle, macro clip-on (if you’ll read small components), spare SD, soft case.
Why it matters for product: ship glove-friendly buttons, quick NUC, and a setup page that reads like a checklist, not a puzzle. Industrial handhelds commonly pair 256×192 to 640×512 detectors with ≤35–40 mK NETD, IP54 sealing, 2 m drop, radiometric recording, and PC/app analysis—make these boringly reliable. Raythink-Industrial Thermal Cam…
07:30 – Site safety & baseline (3–4 min per area)
Objective: anchor your measurements so later scans mean something.
- Environment note: ambient T (and RH if available), wind/airflow, sun/steam sources.
- Reference shot: a wide thermal + visual image of the room or bank of panels.
- Span/level discipline: start in auto to find the pattern, then lock the range before comparative shots.
Product hint: add an Ambient/RH quick panel (or allow manual entry) so the scanner can compute ΔT vs. ambient on the screen and embed it in metadata. Several industrial cameras already log ambient, ROIs, min/max/avg and create radiometric JPEG + PDF via a PC tool—mirror that behavior. Raythink-Industrial Thermal Cam…
08:00 – Electrical routine (switchboards & MCCs)
Objective: triage heat patterns; capture proof; recommend the next action.
Step-by-step on each enclosure
- Stand off 0.7–1.5 m, open if safe, scan in white-hot first.
- Focus: manual or half-press autofocus until conductor edges snap.
- ROI discipline: drop spot (S) on suspect lug, box (B) on similar healthy phase. Read ΔT = S − B(avg).
- Confirm: flip to black-hot (some faults pop better), then ironbow for stakeholders.
- Capture set: thermal (locked span), visual, and voice note (“MCC-03, Bucket 7, L2 hotter by 14 °C under 60 A”).
- Alarm use: isotherm at, say, > 70 °C to make hot lugs obvious in seconds.
What goes to the report
- Panel ID, load estimate, ΔT vs. adjacent phase, action (“torque, re-terminate, load-balance, or monitor”).
- If you trend: repeat panel points monthly; same span; same ROIs.
Roadmap cues: your scanner should support custom points/lines/areas, min/max/center tracking, isotherm alarms, text/voice notes, and QR naming for fast work-order linking. Several industrial handhelds expose exactly these on device and PC/app (radiometric stills, UVC/USB live, Wi-Fi, SD). Raythink-Industrial Thermal Cam…
10:15 – Motors, bearings, and couplings
Objective: separate “hot” from “harmful” with context.
- Start at 0.8–1.2 m. Log drive-end vs. non-drive-end bearing ΔT; note ambient.
- Check coupling guard symmetry; scan housing fins for blocked airflow.
- If a gearbox is involved, scan seal lines and bearing caps; macro clip-on helps for small targets.
- Threshold hints (rules of thumb, not standards): > 15–20 °C over similar asset under similar load merits inspection; > 30 °C is a likely defect.
- Add a visual overview photo; people still think in visible light.
Product ask: manual focus with a short MFD (~0.25–0.3 m) makes small bearings readable. Pair with a macro attachment in the kit and keep the HFOV around 27–45° for mixed industrial spaces. Many pro handhelds ship 3.5-inch touch displays, radiometric video/still, USB-C, tripod socket, and IP54—good baselines for rugged use. Raythink-Industrial Thermal Cam…
12:30 – HVAC coils, ducts, and plant rooms
Objective: prove airflow and insulation issues fast.
- Air handler coil: hold a consistent distance, box the inlet vs. outlet, record ΔT coil; scan blower housing and motor.
- Duct leakage / insulation gaps: switch to isotherm cold to pop leaks; walk seams and take before/after captures after tape/foam fixes.
- Chiller pumps & lines: compare supply vs. return, log ΔT; look for sweating/insulated anomalies.
If you can, give the scanner a dew-point proximity indicator (needs ambient + RH) so techs can explain condensation risk in plain English. At minimum, embed ambient and ΔT in the image metadata and final PDF.
14:10 – Process lines & furnaces (hot work)
Objective: work within wider ranges without losing the subtlety.
- Switch range (e.g., –20…150 °C → 100…650 °C) when you approach hotter sections; lock span to compare like-for-like.
- For refractory/furnace shells: walk a grid, index the pattern (A1, A2, …) and stamp the image names accordingly.
- Use tripod for time-series captures (e.g., every 30 s for 10 min) to see drift trends.
Spec reality: many industrial handhelds offer dual spans (–20…150 °C and 100…550/650 °C), manual/auto span, 10+ palettes, radiometric recording, and PC trend analysis. Make those the default, not an upsell. Raythink-Industrial Thermal Cam…
15:30 – Building envelope & roof (quick pass)
Objective: mark suspects for targeted invasive checks, not diagnose the universe.
- Shade side first to minimise solar loading.
- Wide HFOV helps on walls; mark wet insulation suspects (cool plumes), thermal bridges (linear anomalies), failed seals around fenestration.
- Always log wind/sun in the note; it explains weirdness later.
16:30 – Off the floor: package & hand off (10–15 min)
Objective: one tap to a professional report; zero rework.
On device
- Review captures; delete duplicates.
- Ensure each finding has thermal + visual + note (voice or text).
- Confirm filenames:
SITE-AREA-ASSET-POINT-2025-11-13-1532.irjpg.
On PC/app
- Import as radiometric JPEGs; apply a locked palette & span per job.
- Drop a standard cover page: site, date, ambient, summary table of findings (asset, ΔT, action).
- Export PDF to the watched CMMS folder or click the “Send to Work Order” button if you’ve built the API glue.
Implementation note: most industrial cameras ship with a desktop analysis tool (radiometric stills, ROI tools, CSV export, PDF templating) and simple USB/Wi-Fi transfer. Prefer “files-in-folder” ingestion for first integrations; add API later. Raythink-Industrial Thermal Cam…
What this day teaches your roadmap
1) Optics & detector
- Two mainstream classes cover 90% of industrial work: 256×192 @ ≤40 mK for fleets and 384×288 / 640×512 @ ≤35 mK where small ΔT matters.
- Manual focus + short MFD beats fixed-focus for boards, bearings, valve packs.
- Keep HFOV 27–45° for rooms/panels; offer a macro clip-on.
2) UI you can drive in gloves
- Fight vs. setup: power/palette/zoom/capture on single taps; everything else behind a long-press Menu.
- Labels in plain English (“Scan / Detail / Tracking”) rather than internal profile names.
- Isotherm and ΔT always one tap away; span lock obvious.
3) Honest power & ruggedness
- Publish runtime at 20 °C and –10 °C; ship hot-swap latches you can work by feel.
- IP54 minimum, 2 m drop; tripod 1/4-20 socket. Raythink-Industrial Thermal Cam…
4) Data & reporting
- Radiometric JPEG with embedded metadata (ambient, emissivity, ROIs).
- PC tool that opens instantly, exports professional PDFs, and saves CSV.
- Filenames that carry the job through CMMS.
Field checklists you can paste into SOPs
Electrical panel quick card
- Panel safe/opened; PPE on
- Focus; auto span → lock
- Spot on hot lug; Box on healthy phase
- ΔT logged; isotherm > 70 °C visualised
- Thermal + visual + note captured
Motor/bearing quick card
- Ambient logged; same load as last reading
- Drive-end vs. non-drive-end ΔT
- Housing fins & coupling symmetry
- Macro used if target < 1 cm
- Thermal + visual + note captured
Emissivity crib (start points)
| Surface | ε (start) | Tip |
|---|---|---|
| Painted steel | 0.95 | Reliable default for enclosures |
| Oxidized copper | 0.78 | Verify with known-temp point |
| Shiny aluminum | 0.30–0.40 | Use tape/paint dot for a reference |
| PVC/PEX | 0.95 | Good for plumbing runs |
| Rubber belts | 0.95 | Useful at drives |
Naming & foldering that makes IT smile
/IR/
  /2025-11-13/
    GEM-PLANT1/
      MCC03/
        MCC03-BUCKET07-L2-1532.irjpg
        MCC03-BUCKET07-L2-1532.jpg
        MCC03-BUCKET07-L2-1532.wav
      AHU02/
        AHU02-COIL-DELTA-1605.irjpg
- irjpg = radiometric JPEG; always pair a visible
jpgand optional voicewav. - Report name:
GEM-PLANT1-IR-2025-11-13.pdf→ dropped into the CMMS watched folder.
Typical pitfalls (and how to design them out)
- Auto span whiplash (every frame looks different) → Make span lock sticky and obvious.
- Faking clarity with over-sharpen → Provide a “Detail/Comfort” toggle and remember the last choice.
- Buttons too small for gloves → Minimum cap size & spacing; distinct power/capture shapes.
- Battery door gymnastics → Oversized latch; orientation keying; captive door.
KPIs to check 30–60 days after rollout
- Time-to-first-actionable image (target: < 90 s per asset)
- First-time fix rate (mechanical/electrical)
- % jobs with attached PDF (target: > 80% by week 4)
- Return/RMA rate (goal: below fleet’s IR thermometers)
- Training time for new techs (< 30 min to proficiency if UI is consistent)
What to include in your “Industrial Kit” SKU
- Handheld scanner (Better-tier for fleets; Best for engineering)
- Spare battery + desktop charger
- Macro clip-on, short handle/tripod, soft case
- SD (≥ 32 GB) + USB-C cable
- Desktop analysis software on USB + report templates
- Laminated 2-minute demo & quick cards above
Many industrial models already ship with PC analysis, text/voice notes, Wi-Fi/USB, radiometric video/stills, manual focus, and IP54/2 m drop—treat these as table stakes in your brief. Raythink-Industrial Thermal Cam…
Internal links you can use on your site
- Build on a stable core: Thermal Camera Module
- Speed up integration: Thermal Camera Module Integration
- For inspection-heavy buyers: Handheld Thermal Inspection Camera Brief
- Trust & service: Quality Program · Warranty & After-Sales
- Talk to us: Contact
CTA
Ship a workflow, not just a device. We’ll help you turn this end-to-end handheld thermal imaging scanner process into a kit with the right optics, glove-first UI, honest cold-runtime, and one-tap reports that your customer’s CMMS accepts on day one. Start from our proven thermal camera module, use our integration playbook, and let’s map your first pilot together—contact us.