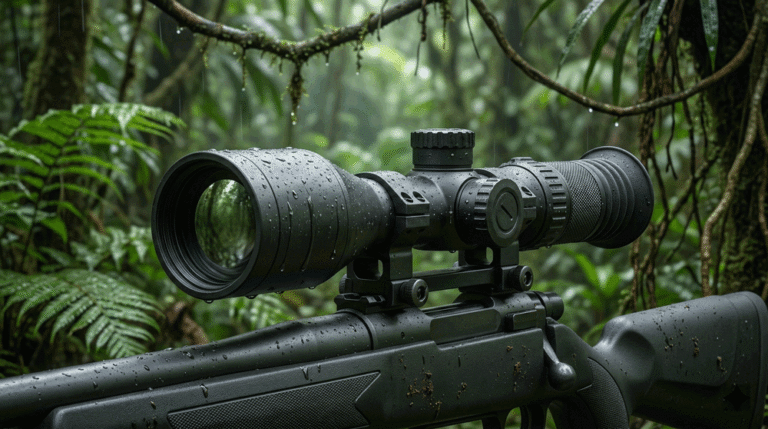
When your teams walk into rain, smoke or freezing wind, handheld thermal imaging becomes more than a sensor spec. It becomes a lifeline they must operate with thick gloves, tunnel vision and a noisy radio in their ear. This guide shows how to design handheld thermal imaging cameras and monoculars that actually work for patrol and search-and-rescue (SAR) teams under stress, not just on a lab bench.
Table of Contents
ToggleIn this guide you will learn
- Why patrol and SAR contexts demand different UX than industrial inspections
- How gloves, cold and stress change the way users interact with handheld thermal imaging
- Which hardware controls, screen layouts and palettes reduce cognitive load at night
- How to design recording, annotation and comms features that match real missions
- How to test your handheld thermal imaging UX in realistic scenarios before mass production
Why UX makes or breaks handheld thermal imaging in patrol & SAR
Thermal imaging has transformed search and rescue by allowing teams to see body heat in darkness, through smoke, fog or vegetation, cutting search times and improving survival odds. Fire departments and SAR organizations now treat thermal imaging cameras (TICs) as primary tools for search, rescue and crew accountability, not “extra gadgets”.
But field reports and human-factors research show that protective gloves, cold and mental load reduce fine motor control and attention, making it harder to operate small buttons or complex menus. Studies on protective gloves note that while gloves can reduce hand heat loss by 60–90%, they also compromise dexterity and tactile feedback.
In other words: if your handheld thermal imaging UI assumes bare fingers and quiet conditions, it will fail exactly when teams need it most. UX must be built around:
- Gross motor actions (large buttons, simple gestures)
- Minimal steps to “image, interpret, act”
- Feedback that can be read in rain, smoke, steam and adrenaline
Understand patrol & SAR workflows before drawing any screens
A useful handheld thermal imaging device for patrol and SAR sits inside a broader workflow:
- Patrol teams (police, security, border units) sweep perimeters, vehicles or open areas, often engaging quickly with people, animals or vehicles.
- SAR teams search for missing persons in forests, mountains, disaster rubble or floods, in low visibility and rapidly changing conditions.
- Firefighters use TICs to locate victims, track other crews and check for hidden fire in walls or roofs.
Across these missions, common patterns appear:
- Short, high-intensity interactions – the device is off or idle, then suddenly becomes the main focus for a few critical minutes.
- Gloved operation – thick gloves protect against heat, cold or abrasion.
- Divided attention – users must watch their footing, listen to radio traffic and monitor teammates while reading the thermal display.
- After-action value – stored images and videos support training, investigation and debrief.
Your handheld thermal imaging UX must respect these realities: quick access, minimal choices, strong feedback and robust recording.
Hardware UX: grip, controls and survivability
The user interface starts before the screen. Fireground-ready handheld thermal cameras like Seek’s FirePRO 300 combine IP67 sealing, 2 m drop rating, a wide field of view and simple one-button operation designed for gloved hands. That’s a good benchmark for patrol/SAR devices as well.
Design principles for handheld hardware
- Ergonomic grip for one-handed use
- Shape should naturally orient the lens and display without conscious thought.
- Surface textures improve grip in wet conditions.
- Large, spaced physical buttons
- Power, trigger and a small number of mode buttons, all operable with gloves.
- Avoid small, flush buttons that are impossible to feel under stress.
- Rugged enclosure
- At least IP66–IP67 protection and drop resistance similar to leading fire TICs.
- Oversized bezels and recessed glass to protect the display.
- Battery strategy
- 4+ hours runtime at full brightness and recording.
- Hot-swappable packs so teams don’t baby the battery on long missions.
If you’re building on your own thermal camera module platform, keep module mounting and heat paths consistent so you can reuse the same housing family across patrol and industrial variants.
Screen & palette UX: make interpretation faster than a glance at a watch
Rescuers often make decisions in seconds. Thermal sensors already provide high-contrast views of heat signatures, letting SAR teams spot people hidden by darkness or terrain. The job of UX is to turn the raw image into a quickly understood picture.
Display and layout guidelines
- Big image, minimal clutter
- Thermal image should dominate the screen; keep overlays thin and sparse.
- Use a small, high-contrast temperature bar and only one or two numeric readouts.
- Palette selection simplified
- Pre-select 2–3 field-proven palettes (e.g. white-hot, black-hot, high-contrast search mode) instead of dozens.
- Offer a single “palette” button cycling through them in a fixed order.
- Temperature range handling
- Use mixed-gain or automatic span management so users see hot and cold regions at once without manual mode switching, similar to fire-service TIC design.
- Text and icons for low visibility
- Large fonts and pictograms readable at arm’s length, even with fogged visors.
Example: viewport layout priorities
| Screen Area | Priority in patrol/SAR UX | Design guidance |
|---|---|---|
| Center | Target & surroundings | Clean image, no UI elements blocking likely targets |
| Top/Bottom strips | Status info (mode, palette, battery, recording) | Icons + short labels, consistent positions |
| Corners | Temperature readouts / compass / level | Only show if necessary; hide advanced items by default |
By default, the user should be able to raise the handheld thermal imaging device, see a clear image and identify targets within one second—without needing to interpret complex overlays.
Controls & modes: design around gross motor actions
Many successful fire TICs and SAR-oriented handheld devices are deliberately “three-button cameras”: one trigger, one navigation button, one mode button. Your handheld thermal imaging UX will usually benefit from the same restraint.
Suggested control map for patrol/SAR devices
- Trigger:
- Tap: capture still image
- Hold: start/stop video recording
- Mode button:
- Short presses cycle through key modes
- Search / overview
- Detail / zoom
- Fire check / hotspot emphasis (if relevant)
- Short presses cycle through key modes
- Palette button:
- Short presses cycle through palettes in fixed order
- Long presses:
- Long-press Mode = enter configuration menu (rarely used in the field)
This approach keeps mission actions (search, capture, switch palette) on simple taps, while burying less-used settings behind long presses so they can’t be triggered accidentally by gloved hands.
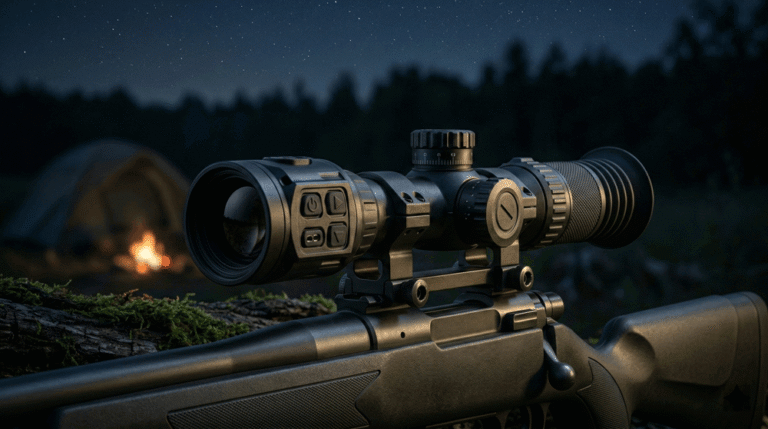
For more complex products like thermal monoculars or weapon-mounted optics, you can still follow the same philosophy: one button for “aim & capture”, one for “mode”, one for “palette/zoom”.
Recording, annotation and communication: think like a team leader
Field users do not just look through the handheld thermal imaging device; they also need to brief others, justify actions and train new members. Fire service experience shows that image capture is extremely helpful for debriefing and training, letting crews review real scenes and improve interpretation skills.
UX considerations for data & comms
- Instant visual confirmation of capture
- Brief overlay or icon so users know an image or video was saved.
- Auto-tagging
- Embed time, GPS (if available), unit ID and device serial into each file.
- Simple export paths
- USB-C for direct transfer; optional Wi-Fi/Bluetooth sync to a mobile app.
- Team-oriented features
- “Mark” or “bookmark” functions for key locations.
- Integration hooks so footage can feed command-center tools or SAR apps.
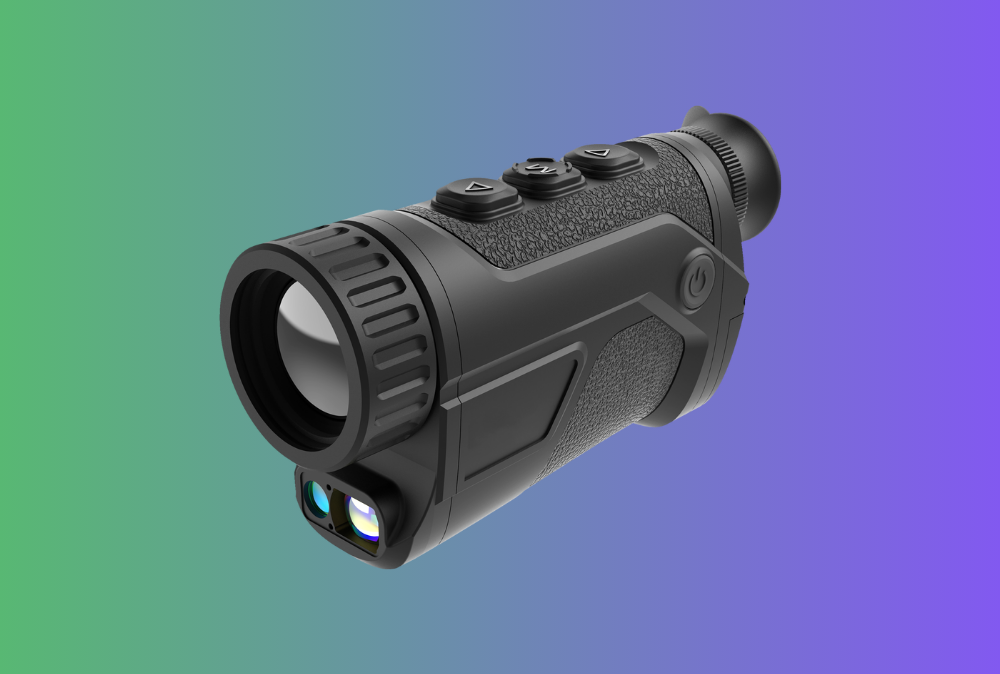
Design your command-link roadmap in parallel with hardware. If your portfolio includes thermal + LRF fusion or UAV payloads, consider using compatible file formats and metadata so patrol teams can hand over handheld data to airborne or fixed systems seamlessly.
Testing handheld thermal imaging UX in real conditions
UX claims are cheap; field tests are not. Agencies deploying thermal imaging drones in rainy night SAR operations stress the need for all-weather operation and real-time data transmission as true differentiators. The same logic applies to handheld thermal imaging.
Field-test checklist
- Glove tests
- Run trials with the thickest gloves your users wear.
- Measure error rates for button presses and time to accomplish key tasks.
- Low-visibility environments
- Smoke, fog, rain, blowing dust or snow: verify that displays and icons remain readable and that the device is not too reflective or washed out.
- Stress and cognitive load drills
- Combine radio chatter, physical exertion (stairs, uneven ground) and time pressure.
- See whether users can still operate palettes and modes correctly.
- Night and extreme temperature tests
- Cold environments with gloves are especially important because dexterity drops significantly while the need for quick action increases.
- Debrief sessions
- Collect feedback on what felt confusing, unnecessary or too slow.
- Adjust firmware defaults and menu layout based on real comments, not lab assumptions.
Building this sort of testing into your manufacturing and quality plan is as important as vibration or drop tests. It turns a thermal device into a true patrol/SAR tool.
Frequently Asked Questions {#faq}
Q1: How many buttons should a handheld thermal imaging device have for patrol and SAR?
Most teams perform best with 2–4 large buttons mapped to clear functions—trigger, mode, palette and optionally a navigation key. Fewer, well-designed controls beat many small buttons that are impossible to feel in gloves.
Q2: Do patrol and SAR users need full temperature measurement features?
Often they care more about detection and localization than precise temperature numbers. However, hotspot indication and rough temperature ranges are still valuable for assessing fire spread or equipment safety.
Q3: Is a touchscreen a good idea for handheld thermal imaging in SAR?
Pure touchscreens are risky with wet surfaces and thick gloves. If you add touch capability, always keep physical buttons for primary operations and treat touch as a secondary convenience.
Q4: How important is video recording compared to still images?
Still images are enough for many reports, but short video clips can be powerful for debriefing, training and explaining dynamic situations to command staff or investigators.
Q5: Can one UX design work for both patrol/SAR and industrial maintenance?
You can share the same core UX, but presets and home screens should differ. Patrol/SAR need quick access to search modes and palettes; maintenance users need measurement and reporting tools surfaced more prominently.
Summary and next steps
A patrol or SAR-ready handheld thermal imaging device is defined less by its pixel count and more by how it behaves in gloves, stress and bad weather. Large, simple controls; clean, high-contrast screens; limited but powerful modes; and robust recording and integration features turn thermal imaging into a real force multiplier for teams in the field.
To move forward:
- Map your key patrol and SAR use cases, including gloves, weather and comms.
- Define a minimal, gloved-friendly control scheme tied to those actions.
- Prototype your handheld thermal imaging UI and test it with real teams under realistic stress conditions.
- Lock proven UX patterns into your OEM/ODM hardware platform so they can be reused across thermal monoculars, handheld cameras and other devices.
If you’re planning a new patrol or SAR-focused handheld program, the Gemin Optics team can help you translate these UX principles into concrete hardware and firmware requirements that work on top of your chosen thermal modules.