When a brand offers thermal scopes, monoculars and binoculars at the same time, the optics are not the only thing that matters. For dealers, professional users and service teams, the control interface is what they touch every day. If each product has different button positions, different menu logic and different icon language, training costs rise and field errors increase.
Table of Contents
ToggleThis article looks at how OEM brands can design a unified control interface across an entire family of thermal optics. The focus is practical and technical, aimed at product managers, mechanical engineers, firmware teams and purchasing managers who work with OEM/ODM factories such as Gemin Optics.
1. Why a unified UI is a strategic decision, not cosmetics
1.1 Lower learning curve for end users
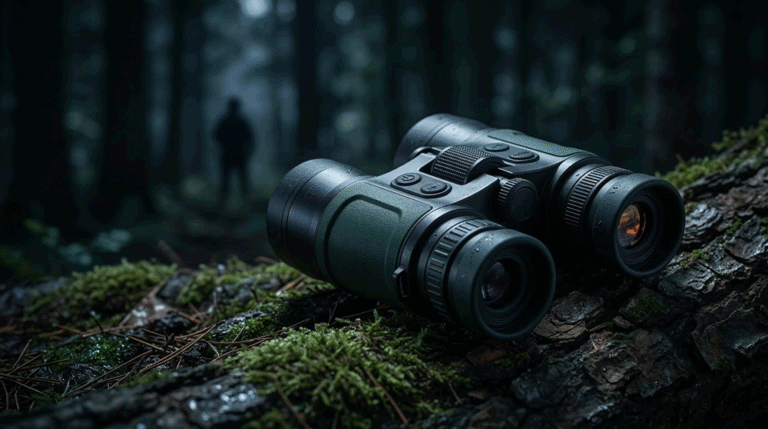
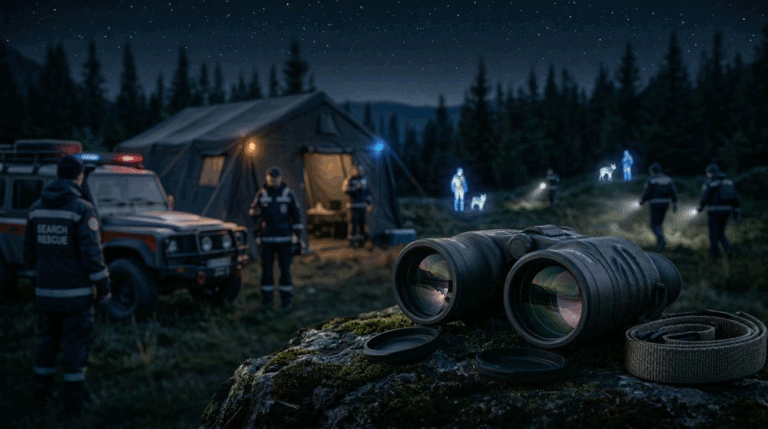
Law-enforcement units, pest-control teams and professional hunters rarely use just one device. A team may combine rifle-mounted thermal scopes, handheld monoculars for scanning and binoculars for observation. If every device behaves differently, operators must remember three sets of controls.
A consistent interface means:
- one training session can cover the whole product family;
- users can switch between devices in low light without thinking;
- fewer mistakes under stress (wrong profile, wrong zoom level, accidental shutdown).
For B2B buyers, this directly translates into lower training cost and higher safety.
1.2 Reduced support and warranty issues
Many “faults” reported by dealers are not hardware failures but UI confusion. Typical examples:
- users think the device has frozen because they triggered a manual NUC;
- wrong zeroing profile selected;
- Wi-Fi or recording not enabled where the manual expects it.
A unified control philosophy makes it easier for support teams to troubleshoot over the phone and reduces RMA logistics.
1.3 Platform thinking for future generations
If you define a clear, consistent interface model now, you can reuse it for:
- future sensor generations and resolutions;
- new form factors (clip-ons, helmet-mounted devices);
- derivative products such as handheld thermal imagers for industrial use.
The UI becomes part of your brand platform, not just a property of one product.
2. Mapping the product family: scopes vs monoculars vs binoculars
Before aligning interfaces, you need to understand the operational context and constraints of each device type.
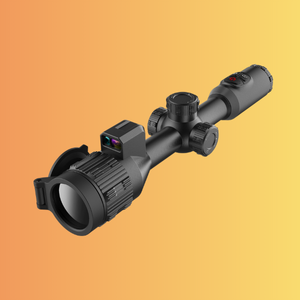
2.1 Thermal scopes (rifle-mounted)
Key characteristics:
- mounted on a rifle, operated mostly with the support hand;
- recoil and weapon safety are critical;
- eye relief and eye-piece position are fixed;
- many functions must be accessible while maintaining firing position.
Typical high-priority actions:
- brightness and contrast;
- digital zoom and picture-in-picture;
- reticle and zeroing profile;
- rangefinder or external laser rangefinder module integration;
- quick standby / wake-up.
2.2 Thermal monoculars
Handheld thermal monoculars are used for scanning and observation. They are:
- often operated with one hand;
- passed around between team members;
- used while walking or driving.
High-priority actions include:
- image polarity (white-hot, black-hot, colour palettes);
- zoom and focus;
- recording / snapshot;
- quick standby.
2.3 Thermal binoculars
Binoculars tend to be heavier and used for longer observation from a fixed position or vehicle. They:
- are usually operated with both hands;
- can host additional sensors (GPS, digital compass, LRF);
- may be used by commanders rather than shooters.
They add functions such as:
- rangefinding and ballistic calculation;
- target marking and sharing;
- navigation overlays.
Despite these differences, the underlying building blocks—sensor, thermal camera module, FPGA or SoC—are similar. That makes a unified control model technically feasible.
3. Defining a control philosophy before drawing any buttons
A common problem is starting from industrial design sketches and then trying to “fit” firmware functions into them. For a unified family, it is better to start with a control philosophy.
3.1 Primary vs secondary actions
First classify all functions into three levels:
- Primary actions – needed frequently and often under time pressure.
- polarity, brightness/contrast, zoom, standby, record.
- Secondary actions – needed regularly, but not in the middle of a shot.
- zeroing, picture-in-picture, Wi-Fi, rangefinder mode.
- Configuration actions – rarely changed once set.
- language, time/date, units, advanced image processing modes.
Only primary actions should have dedicated hard controls (buttons or dials) on every product. Secondary actions can be placed behind short menu paths or long-press combinations. Configuration actions stay deep in the menu.
3.2 Interaction patterns and hand usage
Define rules such as:
- the index finger or thumb on the top of the device handles primary actions;
- left/right keys always mean “down/up” or “minus/plus”;
- long press always brings up a context menu for the current view.
Once these rules are fixed, you can transpose them consistently between scopes, monoculars and binoculars, even if the exact mechanical shape changes.
3.3 “No-regret” vs “high-risk” actions
A unified system should clearly separate:
- no-regret commands: changing polarity, zooming, opening a quick menu;
- high-risk commands: factory reset, profile delete, formatting storage, changing zero.
High-risk commands must have:
- confirmation steps;
- clear icon and text warnings;
- sometimes physical separation (e.g., a recessed or protected button).
4. Hardware control layout: from concept to physical device
4.1 Shared button cluster across the family
Many successful brands use a four-button cluster plus power design:
- central “OK / short menu” key;
- up/down keys for brightness/contrast or menu navigation;
- left/right keys for zoom or palette switching;
- separate power/standby key.
On a scope, this cluster may sit on top of the eyepiece, reachable by the support hand. On a monocular, it can sit on the top ridge. On a binocular, it may be split into two mirrored clusters for left and right hand, but the relative positions and meanings remain the same.
4.2 Recoil, vibration and environmental protection
For rifle scopes, mechanical engineers must consider recoil and gloved operation:
- buttons must have clear tactile feedback and enough travel;
- layout should prevent accidental presses under recoil;
- sealing must maintain IP67 rating without becoming too stiff.
Binoculars and monoculars face less recoil but more risk of dropping and rain exposure. Using the same switch families and sealing design across products simplifies qualification and quality control.
4.3 Shared accessories and remote controls
If a brand offers remote controls (e.g., for helmet-mounted displays or vehicle installations), their key layout should mirror the on-device controls. This again lowers training time and allows dealers to demo any device with the same teaching script.
5. Unified menu structure and icon language
5.1 Top-level menu architecture
A practical, reusable structure across all devices is:
- Image – brightness, contrast, palettes, sharpness, NUC.
- Range / Ballistics – rangefinder settings, ballistic profiles, zeroing.
- Recording – photo/video, storage, replay.
- System – language, date/time, units, Wi-Fi, firmware.
- Profile / User – device presets, rifle profiles, user preferences.
Not all categories will appear on every device—for example, a pure monocular may have no ballistic menu—but the ordering and naming should stay identical.
5.2 Icon language and text labels
Icons are critical for multilingual users and quick recognition at night. Design rules:
- keep icons simple and consistent (same symbol for palette everywhere, same reticle icon everywhere);
- combine short text labels (“IMG”, “SYS”) where space is limited;
- ensure icons are readable on small displays with thick gloves.
A master icon set, maintained centrally, should be reused in firmware, printed quick guides, and marketing materials so users see the same symbols everywhere.
5.3 Consistent menu navigation behaviour
Regardless of device type:
- short press of “Menu” opens or closes the main menu;
- “Up/Down” navigate items;
- “Left/Right” change values;
- long-press “Menu” brings a quick-access overlay for primary settings.
Once users learn this pattern on a monocular, they can immediately operate the scope and binocular without reading manuals.
6. Example: one brand, three products, one UI
The table below illustrates how a unified design can map across a simplified product line.
| Function | Rifle scope (S) | Monocular (M) | Binocular (B) | Notes |
|---|---|---|---|---|
| Power / Standby | Dedicated side key | Dedicated side key | Dedicated top key | Same icon, same long-press behaviour |
| Polarity / Palette | Short-press “Left” | Short-press “Left” | Short-press “Left” | Cycles W/B/colour states |
| Digital Zoom | Short-press “Right” | Short-press “Right” | Short-press “Right” | Step or smooth zoom depending on model |
| Quick Menu | Long-press “OK” | Long-press “OK” | Long-press “OK” | Shows image + recording shortcuts |
| Main Menu | Short-press “OK” | Short-press “OK” | Short-press “OK” | Same top-level categories |
| Rangefinder | Dedicated top key | optional | Dedicated top key | Uses the same icon, text and logic |
Mechanically, each product can have different housing shapes, but function mapping stays stable. This is the essence of a unified interface.
7. Firmware architecture and profile management
7.1 Shared firmware platform
From an engineering perspective, a unified UI is much easier if the product family shares:
- a common OS or RTOS baseline;
- a common UI framework;
- a shared configuration file format.
Even when sensors and thermal imaging cores differ, the state machine for user interaction can be implemented once and parameterised for each device.
7.2 Cross-device profiles
Many professional users would like to:
- define image preferences once;
- copy rifle profiles or palette preferences between devices;
- back up settings for fleet management.
You can support this by:
- storing configuration in readable structures (JSON, binary with versioning);
- enabling export/import via USB, microSD or app;
- keeping parameter names and ranges consistent between devices.
For example, “Sharpening level 0–5” or “Palette index 0–7” should mean the same thing everywhere.
7.3 Over-the-air updates and version control
If devices are linked to an app or PC tool, firmware updates should:
- preserve user profiles where possible;
- clearly communicate changes in UI behaviour;
- maintain compatibility between fielded monoculars, scopes and binoculars.
For B2B customers, it is helpful when the OEM supplier maintains a firmware compatibility matrix across the whole family.
8. Industrial design, branding and ergonomics
A unified UI does not mean identical industrial design. It means every shape still speaks the same language.
Consider:
- consistent use of accent colours (for power key, range key, confirmation key);
- similar surface textures on frequently used buttons;
- matching on-screen splash screens and menu fonts.
These elements support the technical consistency and strengthen brand perception in dealer showrooms.
9. Working with an OEM/ODM partner on unified interfaces
For many brands, the main challenge is not defining the concept but implementing it across multiple hardware projects, sometimes with different factories. Partnering with an OEM/ODM manufacturer that provides both optical modules and system-level design support can reduce this complexity.
A supplier such as Gemin Optics can:
- base multiple products on a common thermal camera module platform;
- provide reference UI flows and key mappings that are adapted per device but share the same logic;
- integrate additional modules (for example, laser rangefinder modules) without breaking menu consistency;
- support long-term maintenance, testing and quality control of the whole product family.
For brands that want to differentiate while keeping engineering risk under control, this combination—unified UI on top of shared hardware platforms—is often the most cost-effective path.
10. Checklist for procurement and product teams
When you discuss new thermal products with an OEM factory, add UI unification to the technical specification, not just optics and sensors. Key points to check:
- Is there a documented control philosophy that can be reused across models?
- Can the supplier demonstrate at least two devices with consistent key mapping?
- Is the menu structure and icon set documented for future use?
- Are there tools to clone or back up user profiles across devices?
- How will long-term firmware updates maintain UI consistency?
Treating these questions as part of the RFQ helps procurement compare proposals on lifecycle usability, not only on BOM cost.
11. CTA – Build a coherent thermal product family, not isolated devices
A thermal scope, monocular or binocular can be technically excellent and still underperform in the market if every device forces users to “learn from zero.” A unified control interface lowers training cost, reduces support issues and strengthens your brand identity across the entire thermal line-up.
If you are planning a new family of thermal optics or migrating an existing product range to a common platform, consider co-designing the UI and hardware with an OEM/ODM partner. You can explore Gemin Optics’ thermal camera modules, review our system-level experience with industrial thermal imaging solutions, and contact our engineering team to discuss how a unified interface strategy can be implemented across your future scopes, monoculars and binoculars.