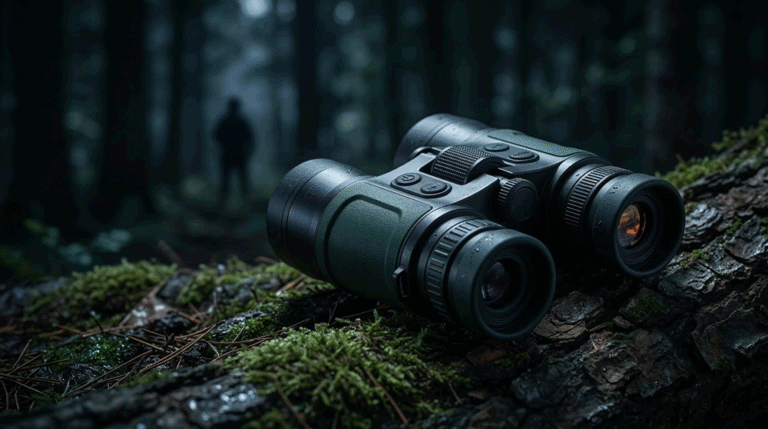
Ask any dealer why customers return a thermal scope for rifle and you’ll hear the same story. The device “won’t zero,” the eye position feels wrong, it collides with the bolt handle, or the customer bought the wrong mount and blames the brand. None of those complaints show up on your sensor datasheet, but they can quietly kill a product line.
Table of Contents
ToggleIf you treat mounting and accessories as afterthoughts, distributors improvise with whatever rails and rings they have in stock. If you design and document a clear standard—heights, footprints, ring options and bundles—you turn a fragile product into a predictable system that works on the rifles your customers actually shoot. This article focuses on that system-level view for OEMs and brand owners building a thermal rifle scope portfolio.
Why Mounting Is the Hidden Failure Point in Thermal Programs
Thermal optics don’t behave like traditional glass scopes. They use displays instead of exit pupils, they sit higher above the bore, and users often move them between rifles. That makes mount design and accessory planning central to your real-world performance, not an accessory line item.
On AR platforms, a thermal scope for AR-15 usually sits on the top receiver rail alongside red dots and LPVOs. Here, height over bore is the main comfort and cheek-weld variable. On bolt actions, the same housing may need higher rings and sometimes a rail extension just to clear the bolt handle and bring the viewer close enough to the eyepiece.
In both cases, most users don’t know what they need. They buy a Picatinny scope mount that “looks right,” only to discover that:
- the objective bell hits the barrel;
- the mount is made for Weaver, not true MIL-STD-1913;
- the height puts the display so low they have to crane their neck;
- or the scope runs out of rail before they can place it correctly.
When that happens, many don’t blame the mount—they blame the optic. A high-quality hunting thermal scope with poor mounting guidance can see higher return rates than a mediocre optic with a complete mounting kit.
If you want fewer RMAs and happier dealers, you need three things: a rail standard, a height playbook, and an accessory roadmap tied to real rifle patterns.
Start with Real Rail Standards, Not Just “Picatinny”
Most marketing copy simply says “fits Picatinny,” but engineers know that’s doing a lot of work. MIL-STD-1913 defines a rail with locking slots 0.206″ wide, spaced 0.394″ from centre to centre, and 0.118″ deep, with a characteristic angular “T” profile. That consistency is what makes a rifle thermal sight repeatable under recoil.
By contrast, classic Weaver bases use narrower 0.18″ slots and non-standard spacing, so many true 1913 accessories won’t seat properly. Dealers still see “Weaver-style” rails on budget rifles, and customers rarely know the difference.
On the modern side, NATO’s STANAG 4694 accessory rail tightens straightness tolerances and recommends using the top surface as the alignment reference for better repeatability, while remaining backward-compatible with MIL-STD-1913 accessories.
For a thermal imaging scope line you want to:
- Design mounts explicitly for MIL-STD-1913 / STANAG 4694 geometry.
- State that in the manual and on the housing (“fits MIL-STD-1913 / STANAG 4694 rails”).
- Provide clear warnings that some older Weaver-only bases may not be compatible.
Doing this saves your support team endless conversations that begin with “it kind of fits my old Weaver base…” and end with a shaky installation and poor thermal scope zeroing.
Mount Height Playbook: AR Platforms vs Bolt Actions
The second pillar is height control. Thermal optics tend to be shorter and boxier than traditional scopes, with screens that sit slightly higher above the mounting surface. That interacts differently with AR stocks and bolt-gun combs.
AR-15 and Similar Platforms
On an AR-15, classic iron sights put the sight line roughly 2.6″ over bore. Red dot mounts advertised as “absolute co-witness” typically place the optic centre about 1.4–1.5″ above the top rail; “lower 1/3” mounts run around 1.6–1.93″.
For a thermal scope for rifle on an AR, you want a centreline in that same band so shooters can keep a natural head position and share cheek-weld muscle memory with their daytime optic. In practice, that means specifying your in-house AR15 thermal scope mount at roughly 1.5–1.6″ centreline height, with an optional tall mount around 1.9″ for users running helmets, gas masks or taller stocks.
Thermal eye relief also differs from glass scopes; users often need to be closer to the eyepiece because they’re looking at a small screen. Brownells’ mounting guidance notes that many thermals ship with cantilever-style mounts to bring the optic further back on AR receivers, ensuring comfortable head position despite the different eye relief.
So for ARs, your standard package should be:
- A one-piece cantilever scope mount in the 1.5–1.6″ range, designed for full-length Picatinny tops.
- Optional taller quick detach thermal mount (~1.93″) for niche use, treated as an accessory rather than the default.
That gives dealers a simple answer when customers ask, “will this sit right on my AR?”
Bolt Actions, Tikkas and Hunting Rifles
Bolt guns are less standardised. Comb height, barrel profile and rail length vary widely, so one mount height rarely fits all. Scope makers like Bushnell, Burris and EGW all emphasise that correct ring height must balance objective-to-barrel clearance, bolt handle clearance and a comfortable cheek weld; they typically recommend using charts or calculators based on objective diameter, tube size and base height.
For a thermal scope for bolt action you can simplify life by designing your housing around common ring heights:
- With a 50 mm-class objective and 30 mm tube, medium to high 30mm scope rings (around 1.0–1.2″ from rail to tube centre) usually clear sporter barrels while leaving room for bolt handles.
- Larger housings or 56 mm objectives often require high rings or a slightly taller rail.
Thermal’s shorter eye relief often means the optic sits further back than a day scope. On short-action rifles or chassis with limited rear rail, many hunters resort to Picatinny extensions or reversed rails to pull the optic closer.
Knowing this, an OEM should:
- Publish a recommended ring-height table for typical objective sizes and rail heights, covering both 30mm scope rings and 34mm scope rings.
- Offer an in-house Picatinny “bridge” or rail extender specifically marketed as a thermal solution for bolt guns.
- Include diagrams showing minimum clearance dimensions for bolt handles and barrel contours, so dealers can check fit before they order.
When your thermal ships with a bolt-gun-friendly mount option in the catalogue instead of “use any rings,” you prevent a lot of frustration and save yourself from being blamed for someone else’s ring choice.
Standardising Ring and Mount Options across the Line
Once you have heights defined, the next step is cleaning up the mount SKUs inside your OEM thermal scope program. The goal is to give engineers, sales teams and dealers a small toolbox that covers 90% of rifles without becoming a combinatorial nightmare.
A pragmatic pattern is:
- For compact housings and lighter rifles, offer an integrated one-piece mount matched to the optic—this becomes the default thermal scope mount.
- For heavier precision setups and some tactical platforms, provide a ring-ready variant with a plain 30 or 34 mm tube section, plus branded rings in two heights.
In both cases, you want recoil lugs designed explicitly for MIL-STD-1913 dimensions—0.206″ lug width engaging 0.206″ slots spaced 0.394″ apart—so that under recoil the optic always returns to the same position.
If your line also includes a clip-on thermal scope that mounts ahead of a day optic, its clamp should be compatible with the ring heights you recommend for that optic. Bering Optics, for example, suggests a clamp height of about 1.7″ from rail to optic axis for their clip-ons, noting that standard “high-profile” rings on the day scope keep both devices aligned. Coordinating such dimensions avoids odd “stair-step” configurations that degrade collimation.
Finally, consider return-to-zero behaviour. Some hunters and LE units demand QD levers so they can swap between thermal and day scopes. Others prefer ultra-rigid fixed mounts. Rather than trying to please everyone with one product, it’s often better to have a fixed integrated mount as the default and a premium quick detach thermal mount as an accessory. That keeps base SKUs simple while signalling that you’ve thought about duty use.
Accessory Roadmap: Bundles That Actually Reduce Returns
Mounts are only half the story. The right thermal scope accessories can quietly solve common pain points and dramatically reduce support tickets. Think in terms of bundled kits, not random add-ons.
A basic thermal scope bundle for hunting might include:
- the optic with the correct mount pre-installed;
- a torque-marked tool (e.g., 65 in-lb) that matches your recommended clamping force;
- a small rail-level bubble or simple leveling wedge;
- spare battery sleds or an external battery pack with a secure cable guide;
- lens caps and a soft cover to protect germanium optics.
A more complete thermal scope kit for professional users could add:
- an anti-cant bubble level for the rail or tube;
- a set of shims for aligning with existing backup sights;
- a short Picatinny extender for bolt guns;
- a low-profile remote for image capture or laser rangefinder integration.
Everything in the bundle should be sized and tested for your housings; avoid generic “universal” accessories that almost fit everything and perfectly fit nothing.
Bundling matters because it shapes behaviour. If every box includes the right tool and clear instructions, users are less tempted to over-torque cheap aftermarket mounts, eyeball level by feel, or power the optic with out-of-spec cells. Problems like stripped cross-bolts, intermittent power, or “scope won’t hold zero” almost always show up weeks later as warranty headaches.
Documentation and Diagrams Dealers Can Reuse
From a B2B perspective, documentation is as much a product as aluminum and glass. Your rail and height standards only help if dealers can understand and repeat them.
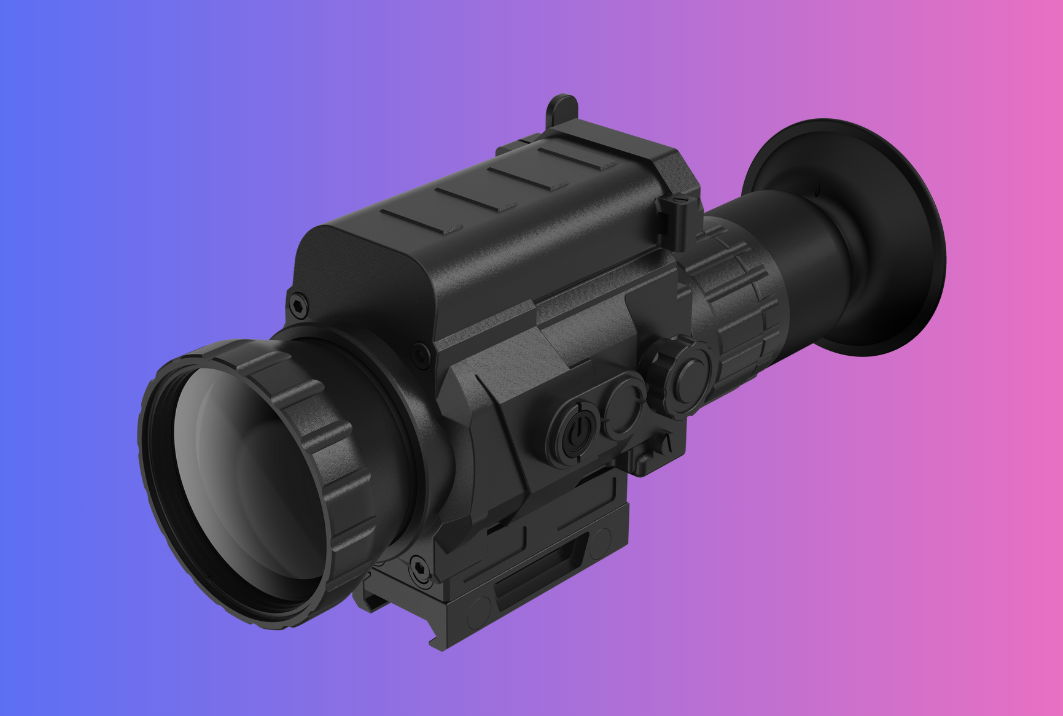
Each thermal scope for rifle should ship with:
- a one-page mounting diagram showing centreline height, recommended rail types, ring height ranges and torque values;
- side-profile drawings for AR and bolt-gun setups, with callouts indicating minimum clearances;
- a QR code linking to a short video on correct mounting and thermal scope zeroing procedure (including where to position the scope on the rail, how to check eye position and how to confirm return-to-zero).
On the B2B side, a downloadable “Mounting Standards Guide” is invaluable. In a few pages it should summarise:
- your preferred rail types (MIL-STD-1913 / STANAG 4694), with an explanation of why Weaver is second-best;
- height standards for each product family (e.g., “all compact thermal models use 1.54″ AR mounts”);
- compatible accessories and part numbers.
This becomes the reference document your distributors and large dealers use to train in-store staff. It also gives your own product managers a single source of truth when designing new housings, so you don’t accidentally create a compact thermal scope that sits 5 mm higher than the rest of the line for no good reason.
For internal linking, this guide should live alongside your core product pages—for example, linked prominently from [Thermal Rifle Scopes] and [Dealer Training Resources] so visitors naturally encounter it when planning assortments or training sessions.
Planning Mounts for the Next Generation of Platforms
Finally, your mounting and accessory roadmap should look a few years ahead. Rails and stocks continue to evolve, and your thermal scope for rifle needs enough flexibility to handle where the market is going, not just where it is today.
On the long-gun side, Picatinny remains the dominant optic interface, with its standardised slot width and spacing making it the default for precision rails and AR uppers. But M-LOK and similar systems are increasingly built into handguards and chassis. While these aren’t optic rails, accessories like battery packs, cable guides and laser rangefinders will want M-LOK-compatible interfaces as your thermal scope accessories ecosystem grows.
For future generations, consider defining:
- a common mechanical interface between your optics and mounts, so you can release new mount geometries without redesigning every housing;
- a family of accessory mounting points on the optic body (mini rails or threaded bosses) that accept standardised batteries, rangefinders or control pods;
- clear guidance for OEM partners who want to integrate your cores into custom chassis or clip-on shells.
Those partners should find detailed mechanical specs in your [Thermal Imaging Modules] and [OEM/ODM Partner Program] documentation, so they don’t reinvent rail and mount geometry from scratch.
Turning Standards into Fewer Returns and Stronger Margins
Mounting and accessories seldom appear in glossy launch videos, but they quietly decide whether your thermal scope for rifle program delights dealers or drowns them in returns. A disciplined approach—anchored in real Picatinny/STANAG dimensions, coherent height standards for ARs and bolt guns, and a small, well-designed ecosystem of mounts and bundles—does three things at once:
- It makes the user’s first range trip uneventful in the best possible way.
- It gives dealers simple, repeatable answers when customers ask “will this fit my rifle?”
- It reduces self-inflicted failures that chew up your warranty budget and erode trust.
In a crowded thermal market where image quality is converging, those “boring” details can be the edge that keeps your brand on the rifle—and off the returns counter.