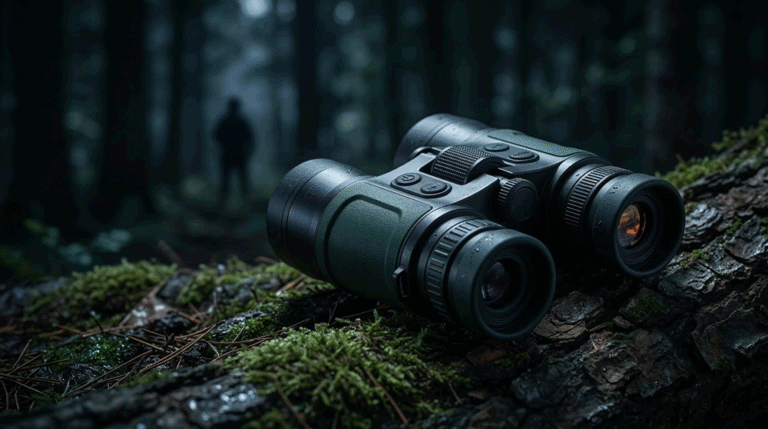
When a buyer first looks through a thermal optic, you usually have about thirty seconds to impress them. If your thermal scope targets are dull, hard to see or badly set up, the user blames the scope—not the target. If the demo is crisp, intuitive and safe, that same buyer will walk away convinced the technology is worth the budget.
Table of Contents
ToggleFor B2B brands and OEMs, live-fire demo days are not just marketing events; they’re compressed field tests. You can validate assumptions, gather performance data, and train dealers all at once—if you design the range and targets properly. This article lays out how to do that: from the physics of thermal targets to practical layouts and scripts your team can reuse.
Why Targets Matter More Than You Think
Thermal imaging works by detecting infrared radiation emitted and reflected by objects, then converting that into a visible image called a thermogram. The contrast your customers see through a thermal imaging scope depends on temperature differences and surface properties, not on printed ink or visible colour.
That’s why simply hanging regular cardboard silhouettes and hoping muzzle blast “warms them up” rarely produces a compelling demo. Specialized thermal shooting targets use coatings or materials that either emit heat when struck or manipulate emissivity and reflection so they pop against their background.
A good target package should help you:
- Show how fast a thermal rifle scope can detect and track targets in clutter.
- Make shot placement instantly obvious without walking downrange.
- Let users experience scenarios that match their reality—predator control, perimeter security, patrol work—not just flat zeroing.
If you get the target design wrong, users see washed-out blobs and “meh” performance. If you get it right, they see exactly why they should upgrade or standardise on your product line.
The Physics Behind Good Thermal Scope Targets
To design better thermal scope targets, you need a basic handle on emissivity and active vs passive heating.
Emissivity is how efficiently a surface radiates heat compared to a perfect black body. High-emissivity materials (like matte paint or electrical tape) radiate heat well and show up clearly in thermal images. Low-emissivity surfaces (polished metal, shiny foil) tend to reflect surrounding infrared instead of emitting their own.
Target makers exploit this in two main ways:
- A passive thermal target uses low-emissivity film to reflect a cold sky against a warmer background or vice versa, creating strong contrast without power.
- An active thermal target builds in a heater or uses reactive material so the hit zone warms up relative to the backer, producing a hot “splash” visible through thermal optics.
Because a thermal camera “sees” both emitted and reflected IR, you must also think about surroundings: ground, backstop, sky and nearby structures all send IR into the scene. A target that looks great against a cool berm at dusk may disappear against sun-warmed rocks at noon. That’s why your field test plan should include different times of day and temperature ranges.
If your in-house team understands this, you can spec coatings and films in your thermal scope OEM program so that off-the-shelf targets from partners consistently pop in your optics.
Choosing the Right Target Types for Each Demo Goal
Not every demo needs the same kind of target. Think in terms of three layers: zeroing, tracking, and decision-making.
1. Zeroing and Basic Confidence
When a buyer first mounts a scope, they want to see that it will actually zero. Purpose-built paper or adhesive targets with integrated thermal treatments make this easy. Products like commercial thermal paper targets and sight-in grids use coatings that create distinct heat signatures on specific shapes or grids, even in daylight.
Combine these with your branded thermal scope zeroing workflow:
- fixed distance (often 50 or 100 m);
- clear instructions on point-of-aim vs point-of-impact;
- a simple “three shots, adjust once” process.
The goal here isn’t to stress the system. It’s to get the shooter comfortable that POI follows clicks and that your reticle logic makes sense.
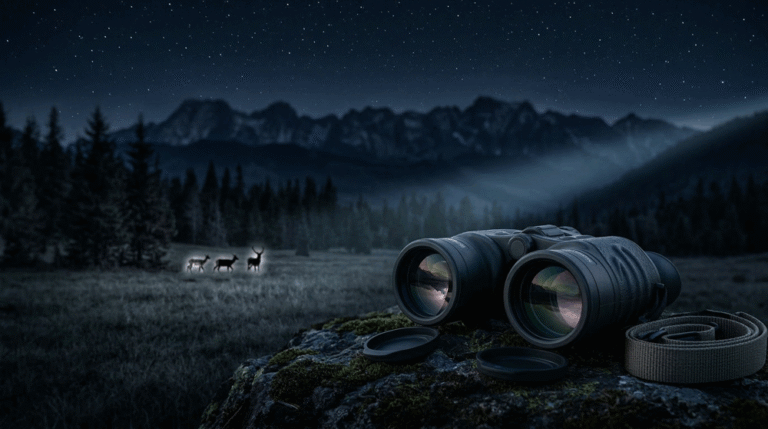
2. Tracking Moving and Multiple Targets
Once zero is confirmed, move to dynamic targets. For hunters, that means steel or silhouette targets placed at mixed distances, each with a repeatable thermal signature. A steel thermal target can work well if you add purpose-designed heaters or adhesive films; without that, the steel may not show a clear signature at night.
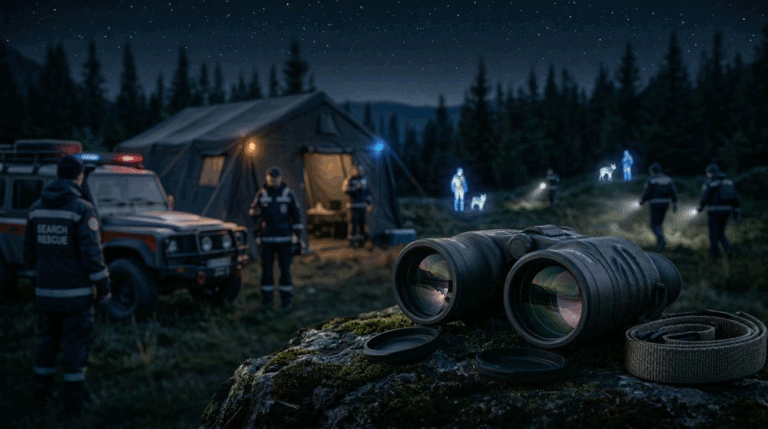
For law-enforcement or security demos, silhouettes with different heat zones—torso vs hands, or head vs body—help show how a law enforcement thermal scope aids decision-making under stress. Multi-zone targets that reveal segmented signatures, like commercial thermal ID silhouettes, are designed exactly for this.
3. Scenario and Identification Work
Thermal is often sold as a detection tool, but modern sensors can carry a lot of detail. To prove that, set up scenario stations:
- For a thermal scope for hunting buyer, hide animal-shaped targets in brush at varied angles and ranges; ask them to discriminate targets that are “legal” vs “no-shoot.”
- For a SWAT team evaluating a thermal clip-on scope, create a simulated perimeter where some silhouettes represent armed threats and others are heat signatures of equipment or animals.
Here you’re no longer just proving that the reticle moves shots. You’re showing how the optic supports tactics and judgement.
A well-curated thermal target kit for each audience lets you configure those stations quickly without re-inventing the range.
Designing a Range Layout That Shows Value Fast
Live-fire events are constrained by safety rules and time. Law-enforcement trainers and range-safety literature all stress that a “successful demonstration” is first about no injuries, then about equipment working, then about hitting targets—and only after that about sales.
Within those constraints, you want a layout that:
- minimises walking time;
- gives every shooter a clean field of view;
- lets instructors supervise muzzle direction easily;
- and builds difficulty in logical steps.
Core Lanes
Start with 3–5 straight lanes dedicated to zeroing and simple demos. Each lane has:
- one or two thermal paper targets on cardboard backers at fixed known distances;
- clear backstops;
- marked shooting positions (bench and off-hand).
These lanes are where you establish basic trust in the equipment.
Dynamic Lane or Steel Bay
Next, allocate a bay for moving between known points and engaging multiple targets. This is your thermal scope training range in miniature. Layout ideas:
- staggered steel thermal target silhouettes at 50–200 m with heaters or films;
- a few small passive reflective plates hung at treeline height to simulate eyes or small animals;
- optional movers if the range allows.
Here shooters feel how the scope handles scanning, transitions and recoil recovery.
Scenario Corner
Finally, reserve a section for more complex scenarios using props, barricades or vehicles. This is where you demo:
- patrol work for agencies evaluating a law enforcement thermal scope;
- stalking or shooting from sticks for hog hunting thermal scope and coyote hunting thermal scope buyers;
- clip-on behaviour in front of high-power day scopes.
Each station should be scripted to take 3–5 minutes per shooter, including a quick debrief.
Running a Thermal Scope Demo Day: Script for Your Team
Even with great targets, a thermal scope demo day fails if instructors freelance wildly. Give your reps and field engineers a standard flow they can adapt.
1. Safety and Expectations
Begin with a short safety brief. Use standard range commands (“range hot/cold,” “cease fire,” etc.) and emphasise eye/ear protection and muzzle awareness—guidance echoed in firearms-training best-practice documents and range-safety handouts.
Then set expectations in plain language:
- what distances you’ll be shooting;
- what the user should look for on the targets;
- and what they should be able to do by the end of the session (e.g., “hold a 4-shot group inside this box at 100 m”).
2. Dry-Run Through the Scope
Before live rounds, have each shooter shoulder the rifle and dry-fire on the nearest target. Many agencies and civilian trainers include dry-fire sequences before live fire to improve performance and safety.
Use this time to coach:
- focus and diopter adjustments;
- menu basics (palette, brightness, zoom);
- how to place the reticle on the thermal image (some people chase the brightest spot and ignore shape).
This also lets you spot obvious ergonomic issues—like a mount that’s too high or low—for that shooter’s body type.
3. Live Zeroing
Move to the zeroing lane. Use your thermal scope zeroing target and walk through a simple routine:
- Three slow, supported shots at 50 or 100 m.
- Use the thermal splash or heated grid on the target to confirm group location.
- Walk the shooter through your reticle menu to adjust.
Explain what the target is doing—whether it’s using reactive film, embedded heaters, or emissivity tricks—so they understand why the impact shows so clearly.
4. Dynamic Drills
Once the group is satisfied with zero, move them to the dynamic lane. Typical drills:
- engage three targets at varying distances with controlled pairs;
- transition from one side of the bay to the other, pausing behind a barricade;
- switch palettes or zoom levels mid-string so they feel how the scope behaves under change.
The targets here should be designed to give instant visual feedback—either thermal “pops” or obvious contrast changes—so shooters can see hits while staying behind the gun.
5. Scenario Wrap-Up
Finish at the scenario station specific to that audience. For hunters, that might be a short simulated stalk ending in a decision shot on an animal silhouette. For police, it might be scanning around a vehicle or structure with a law enforcement thermal scope, identifying which silhouettes represent threats.
After each run, ask two quick questions:
- “What surprised you?”
- “What would you do differently with your current gear?”
Their answers feed directly into your sales and product notes.
Building Target Packages for Different Customer Segments
The more repeatable your packages, the easier it is to scale demo days across regions and partners. Consider three modular kits built around your thermal target kit concept.
Hunting & Outdoor Kit
Focus: landowners, outfitters, dealers selling to civilian hunters.
Include:
- Adhesive zeroing targets;
- animal-shape thermal shooting targets for realistic silhouettes;
- small reflective or emissive patches to simulate eyes in brush;
- a lightweight thermal target stand that fits in a truck bed;
- quick-start card explaining how to set up demos for thermal scope for hunting, hog hunting thermal scope and coyote hunting thermal scope buyers.
Law-Enforcement / Security Kit
Focus: patrol, SWAT, border and prison teams.
Include:
- grid zeroing targets;
- torso and head silhouettes with multiple heat zones;
- a few “non-threat” heat sources (e.g., small heaters behind trash-can props) to force discrimination;
- mounting hardware for vehicle mock-ups or barricades.
Here the aim is to showcase a law enforcement thermal scope in realistic search, perimeter and CQB-adjacent roles, not just static firing lines.
OEM / Integrator Kit
Focus: partners evaluating cores or platforms in your thermal scope OEM program.
Include:
- emissivity sample panels (high, medium, low) so they can see how your image pipeline handles challenging surfaces;
- fixtures for drones, pan-tilt units or vehicle mounts;
- targets with known temperature profiles for quantitative comparison.
This kit turns your demo day into a joint test session where engineering teams can collect comparable logs across multiple devices.
Don’t Forget Low-Cost DIY Options
Not every event justifies shipping pallets of targets. For smaller dealer events, a set of DIY thermal targets can bridge the gap. Guides from established optics brands show how shooters use hand warmers, foil tape, aluminum plates and hot water bottles to build improvised targets that still produce usable signatures.
You can embrace this reality by:
- publishing your own “approved DIY” recipes for local demo days;
- explaining which surfaces work best and why (emissivity again);
- and clearly distinguishing between “good enough for a short range day” and the more consistent performance of your official targets.
Educating dealers on thermal target emissivity and simple hacks actually reinforces your authority and reduces bad demos where someone tapes a hand warmer to shiny steel and wonders why it’s dim.
Capturing Data and Feedback from Field Tests
A demo day is a goldmine of real-world data if you treat it as more than a show-and-tell.
- Ask shooters to rate image quality, ease of finding thermal scope targets, and UI intuitiveness on a short card after each station.
- Have staff log environmental conditions (temperature, wind, sun angle) so you can correlate them with any issues in target visibility.
- Encourage integrator customers to share their own logs and video captures.
Over time, you’ll see patterns: certain target materials fade at specific temperatures; some palettes work better on overcast days; a particular mount height helps users keep the rifle stable. That’s exactly the kind of experience you can fold back into your Thermal Rifle Scopes roadmap or your broader Thermal Camera Solutions offering.
Turning Demo Discipline into a Brand Advantage
Most shooters will only attend a handful of live-fire demo events in their life. If their first exposure to your scopes is on a chaotic line with half-visible targets and no structure, they’ll assume the product is as messy as the day.
If, instead, they arrive at a clearly organised range, with well-designed thermal scope targets, logical stations, and instructors who can explain both what they’re seeing and why it matters, they’ll walk away with a very different impression:
- this brand understands how thermal actually gets used;
- this brand has thought through mounts, targets and training;
- this brand is safe to build a program around.
That perception feeds directly into dealer loyalty, agency RFP decisions and long-term OEM partnerships. In crowded markets where sensor specs are converging, the way you design and run your field tests might be the most visible proof of your experience and trustworthiness.